

How To Fix A Chipped Guitar Body
If your guitar has a dent in an unsealed section of wood e.g. the fingerboard. Using a combination of heat and moisture causes the wood to swell and regain its previous shape. If you have a dent in the finish of the body of the guitar you can fill the cavity using Gluboost, Superglue, lacquer, or epoxy.
There are few things more frustrating than putting a dent in a guitar you really cherish. But rather than accepting the damage as 'character', there are some ways we can repair or at least minimize the carnage. In the following article, we'll discuss two methods of acoustic guitar dent repair that you can carry out at home without specialist tools or experience.
The first blemish on your new guitar
We've all done it.
It's only a matter of time before you drop something on your guitar e.g. your phone or a capo, leave your guitar leaning against something that wasn't as stable as you initially thought or simply dropped the guitar resulting in a fresh new dent.
That's what I did a few years back. I had just finished a session at a friend's house who owned a small studio and was putting my guitar into the back of my car.
I'd been recording most of the morning and the sunlight can be a little hard to adjust to when you've been in a semi-dark room. In any case, next thing you know my guitar slipped from my grip, and I was left immediately regretting not bringing my guitar case.
There's really no mistaking the sound of an acoustic guitar hitting the ground.
First, there's the initial sound of the body absorbing the full impact from the much harder surface (in this case a combination of concrete and bitumen), before bouncing and changing angle in mid-air so that the tuners and headstock take the next blow, before bouncing again and exposing the top of the guitar. This is followed immediately by the sound of strings spasming wildly, slapping against the timber of the body and neck.
Like most people, my initial (wishful) thinking was 'perhaps it won't be that bad but the fact was I'd dropped my guitar, collecting the concrete gutter on the side of a bitumen road from just below waist height. On inspection the tuners were banged up pretty badly, there was a large dent on the second fret and a smaller one on the first, presumably from a stone, the back of the neck had a couple of smaller dents and the solid cedar soundboard had a dent under and to the right of the bridge, along with various scratches and a couple of smaller dents to the binding.
All you can really think at times like these are, I guess it could have been a lot worse.
Assessing the Damage
First things first. If you've damaged a guitar that really means a lot to you, you're going to have to take your guitar in for repair. No ifs or buts, you owe it to yourself and the guitar to have it repaired by a pro.
Acoustic guitars can be temperamental. Any changes you make have the capacity to affect tone.
Secondly, if you plan to go ahead with working on the guitar yourself, the method you employ should be determined by the extent and location of the damage.
The difference between a dent and a chip
We're going to look at repairing dents in this article.
Small chips in wood and binding can also be repaired using the drop fill method I will outline below, but depending on the extent of the damage and location you may need to employ some additional tactics to match the section of wood that has been removed.
Dents

A dent is a compression e.g. a deformation. When this occurs the timber grains are not broken and instead have been squashed due to the force of the impact.
The compressive strength of wood typically used for soundboards isn't all that high, due to its requirements for being flexible and light.
As a result, if you have a spruce top, the wood will dent fairly easily. Cedar, also being a softwood will dent easily but has higher compressive strength, while Mahogany which is also used as a soundboard material, although less often is stronger again.
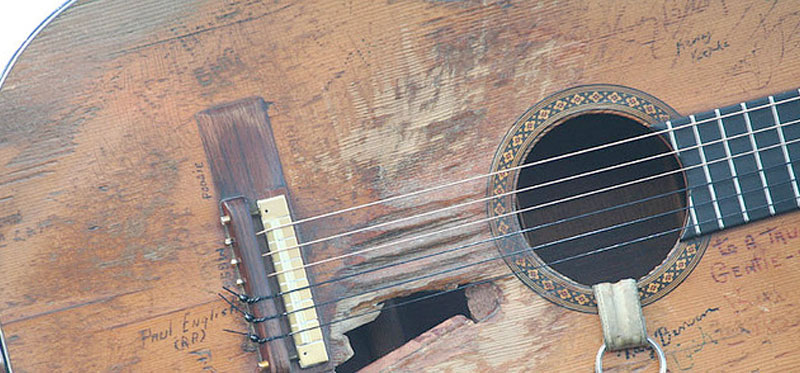
A good example of this is Willie Nelson's Martin N20 classical guitar 'Trigger'. Being a classical guitar the Sitka Spruce top isn't required to be of the same thickness as a steel-string guitar as nylon strings place far less tension on the guitar. However, Willie plays with a pick and classical guitars aren't supposed to be played with anything harder than the fingers. As a result, the guitar has many chips, dents, and holes.
Chips
A chip on the other hand is when a small section has been completely removed from a larger one, and can only be fixed by replacing the piece missing.
Depending on the force of the impact, in most cases, wood, and binding for that matter, will dent instead of chip, especially if new as the material will be soft enough to cushion the impact unlike stone for example which is less forgiving.
Steaming a Dent out of an Acoustic Guitar Fingerboard
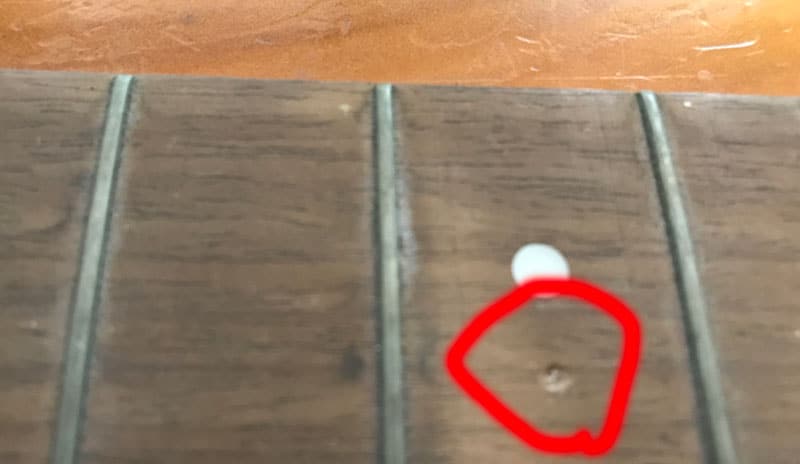
In my case, I had three main areas of focus on and all were obvious dents along with some light scratches. Two of the dents could be repaired, while the smaller dents on the back of the neck were less noticeable, and repairing these would have carried some additional risks which I'll explain shortly.
Small to medium size dents can often be removed from unsealed timber using a combination of heat and moisture. While this is more effective when applied to unsealed softwoods, it also works for hardwoods like Rosewood. The moisture causes the wood cells to swell and ultimately decompress. Remember a dent is a compression of the timber so causing the timber to swell should, in most cases ensure it returns to it original state.
As we are repairing an acoustic guitar, the fingerboard is comprised of unsealed timber. Most acoustic guitar fingerboards are manufactured from either Rosewood or Ebony and due to the oily nature of these timbers they are left unsealed.
While fairly common on electric guitars, it's rare to see an acoustic guitar with a maple fingerboard. If you happen to have come across one of these rarities the fingerboard will be sealed in which case using a combination of heat and moisture is not advised.
Engineered Wood
For engineered wood e.g. Richlite which is being used more regularly due to restrictions on the importation of Rosewood this method isn't one I'd recommend, at least not without seeking further advice. Richlite has a proprietorial surface added in the factory. If damaged, try using Osmo Care & Repair Paste which is recommended for furniture repairs.
For Rosewood and Ebony, however, this method is particularly effective and fairly simple to do. So simple in fact that I've been able to help at least a dozen people repair dents in the fingerboards of their guitars simply by passing on some simple instructions by email, with a relatively high amount of success.
For deeper dents, keep in mind, you may need to apply this method multiple times. Even then, though theoretically, it seems that what goes in must come out, I have seen dents simply get to a certain point and go no further. In these cases, you can try using a pin to pierce the wood multiple times and allow more moisture to enter the area. In most cases the deeper the moisture penetrates the more effective the end result.
Materials Required

- A soldering iron (or steam iron)
- Damp section of rag
- 320 – 800 grit sandpaper
Things to Keep in Mind before Starting
- Apply the heat directly to the dent itself, along with the surrounding area, but don't press too firmly.
- Keep the iron moving at all times, using a circular motion. Ensure the end of the iron is not in one place for too long and scorches the timber.
- Obviously, be very careful to make sure the iron never touches the surface of the guitar.
- Depending on the depth of the dent, this method can take a short amount of time. You will need to keep lifting the damp rag and assessing your progress.
- Don't let the rag dry out. You should hear the 'sizzle' of the hot iron touching the damp rag resulting in steam.
- Remember. If the guitar is valuable, take it to a luthier and have the damage assessed.
Method

- Switch on the iron, leave it for several minutes and allow it to heat up.
- Cut a small section of rag and wet it. It shouldn't be dripping wet but will need to be more than just damp.
- Fold the section of rag so that there are at least two layers and cover the dent.
- Apply the tip of the iron directly into the dent and surrounding areas, applying light to medium pressure.
- Check your progress and keep applying heat until the timber swells and the dent is raised.
- Don't be surprised if you need to apply this several times due to the fingerboard being made from hardwood (Rosewood in this case).
- Once satisfied gently sand the area using fine grain sandpaper working your way until the scratch marks from the previous grit are no longer visible. (Rosewood is more porous than most timbers and wont require hours of sanding).
Repairing small dents in the finish using a drop fill
Drop fills are used for repairing small dents or chips on the finish layer of the guitar. This means the dent isn't all the way through to the wood.
If the dent is all the way through to the wood of the guitar the finish will prevent access to the raw timber, ruling out being able to use moisture to swell the timber.
If however the dent has fractured the finish layers you can try repairing the dent using the steam method from the section above. But, first a word of caution. The finish layer will be affected by the heat of the soldering iron and may bubble. This is why I left the back of the neck of the guitar I had damaged alone. The dents were not terribly noticeable and the potential risks outweighed the benefits.
If you are handy, or have experience with this type of work you can also remove the finish in that section to expose the wood.
As the dent is only affecting the finish layer, we are going to fill it. For the fill we can use Gluboost, lacquer, epoxy or superglue. Dan Erlewine recommends super glue as it tends to dry very quickly, that's good enough for me.
If you choose to use superglue, you can generally select from a range of consistencies from very light to thick. The thicker the glue, the longer it will take to dry.
If repairing a dent in your finish, I'd recommend a medium to heavy glue which will still dry quickly (approx. 5 minutes) but will grant you enough time to work the glue around a little if needed.
Materials Required
- Gluboost, Superglue, lacquer or epoxy
- Razorblade
- Masking Tape
- Various grit sandpaper starting from 320 up to 800 grit.
- 2000 – 8000 grit wet and dry sandpaper
- Polish and rags
Things to Keep in Mind before Starting
- When filling the dent, it's important to do so in layers e.g. add a small amount and let it dry before adding the next layer.
- You should also ensure the guitar is lying flat to avoid runs which will result in additional problems that will need to be addressed.
- When sanding, ensure you are only applying sanding the area being repaired. This is important as we will be using 320 grit, which will mark the finish. You can use small strips and drag them from under your thumb, but be sure to continually change the direction you attack it from.
Method

- Add a burred edge to the razor blade. This is fairly simple to do, just run the edge of the blade against a metal surface. This will leave a small burr on the edge that will be used to scrape the top of the fill away.
- Clean the area of the dent. A warm, damp rag should suffice.
- Add a layer of fill to the dent and leave to dry.
- Add a second layer if required once the first layer is dry.
- Add additional layers if needed until the surface is raised slightly above the surface of the guitar body and leave to dry.
- Take the razor blade and carefully wrap both ends in a couple of layers of masking tape(as pictured above).
- Ensure the thickness of the tape is equal on both sides, only using a couple of layers and raising the middle of the blade by just a few mm. The idea here is to raise the ends of the razor slightly so they are unable to dig into the finish of the guitar while still being able to smooth out the raised section we created earlier with our fill.
- Drag the blade over the repair reducing the raised section. Don't push hard into the raised section, instead drag the blade across it. Don't apply a lot of force, let the sharpness of the blade do the majority of the work.
- Next, using the sandpaper work your way up through the various grades of paper, removing the scratch marks from the previous sandpaper each time you change up. Use small strips if preferred and avoid affecting the surface of the guitar body anywhere aside from the repair zone.
- Using a very small sanding block sand down the area working your way up again through the various finer grades of wet and dry paper.
- Finally, polish the area using car polish until there are no remaining scratch marks.
Preventative Measures you can take
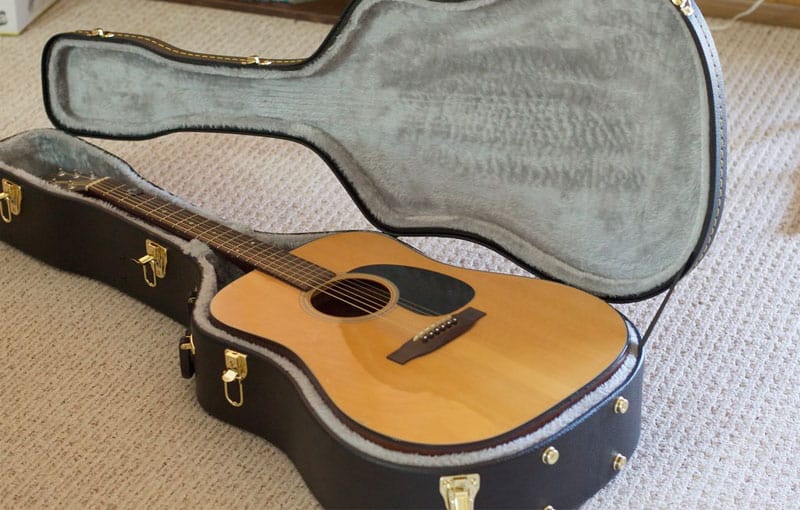
Obviously, the best way to deal with dents in your guitar is to not have a dent in the first place. With this in mind, there really is no substitute for a quality hard case. Always keep your guitar in a case when travelling and utilise a guitar stand if you have to put the guitar down, and give consideration to where you place the guitar stand e.g. not in a heavily trafficked area.
Never leave it lying on its back if you can possibly avoid it. The back is one of the most prominent surfaces of your guitar.
While fairly obvious, it's surprising how often (myself included) guitarists leave their instruments in perilous positions.
Summary
It's a fact that many people won't bother repairing dents and that's perfectly understandable. If this is a new guitar and it's the first dent you have put in it, chances are it will eventually be the first of many and it's always the first one that causes the most anxiety.
The methods outlined above can be very effective provided you follow the steps correctly. But unless the dent is really bothering you in the majority of circumstances it also makes sense to just leave well enough alone.
How To Fix A Chipped Guitar Body
Source: https://theacousticguitarist.com/acoustic-guitar-dent-repair-guide/
Posted by: sandersstlef1950.blogspot.com
0 Response to "How To Fix A Chipped Guitar Body"
Post a Comment